My Recommended Starter Kit for Ecamm Live
If you’re new to content creation or live streaming but still want to get great quality video and audio without breaking the bank (but will allow you to expand and upgrade later), check out my recommended Starter Kit for Course and Content Creators who want to use Ecamm Live.
My Simple Starter Kit for Ecamm Live
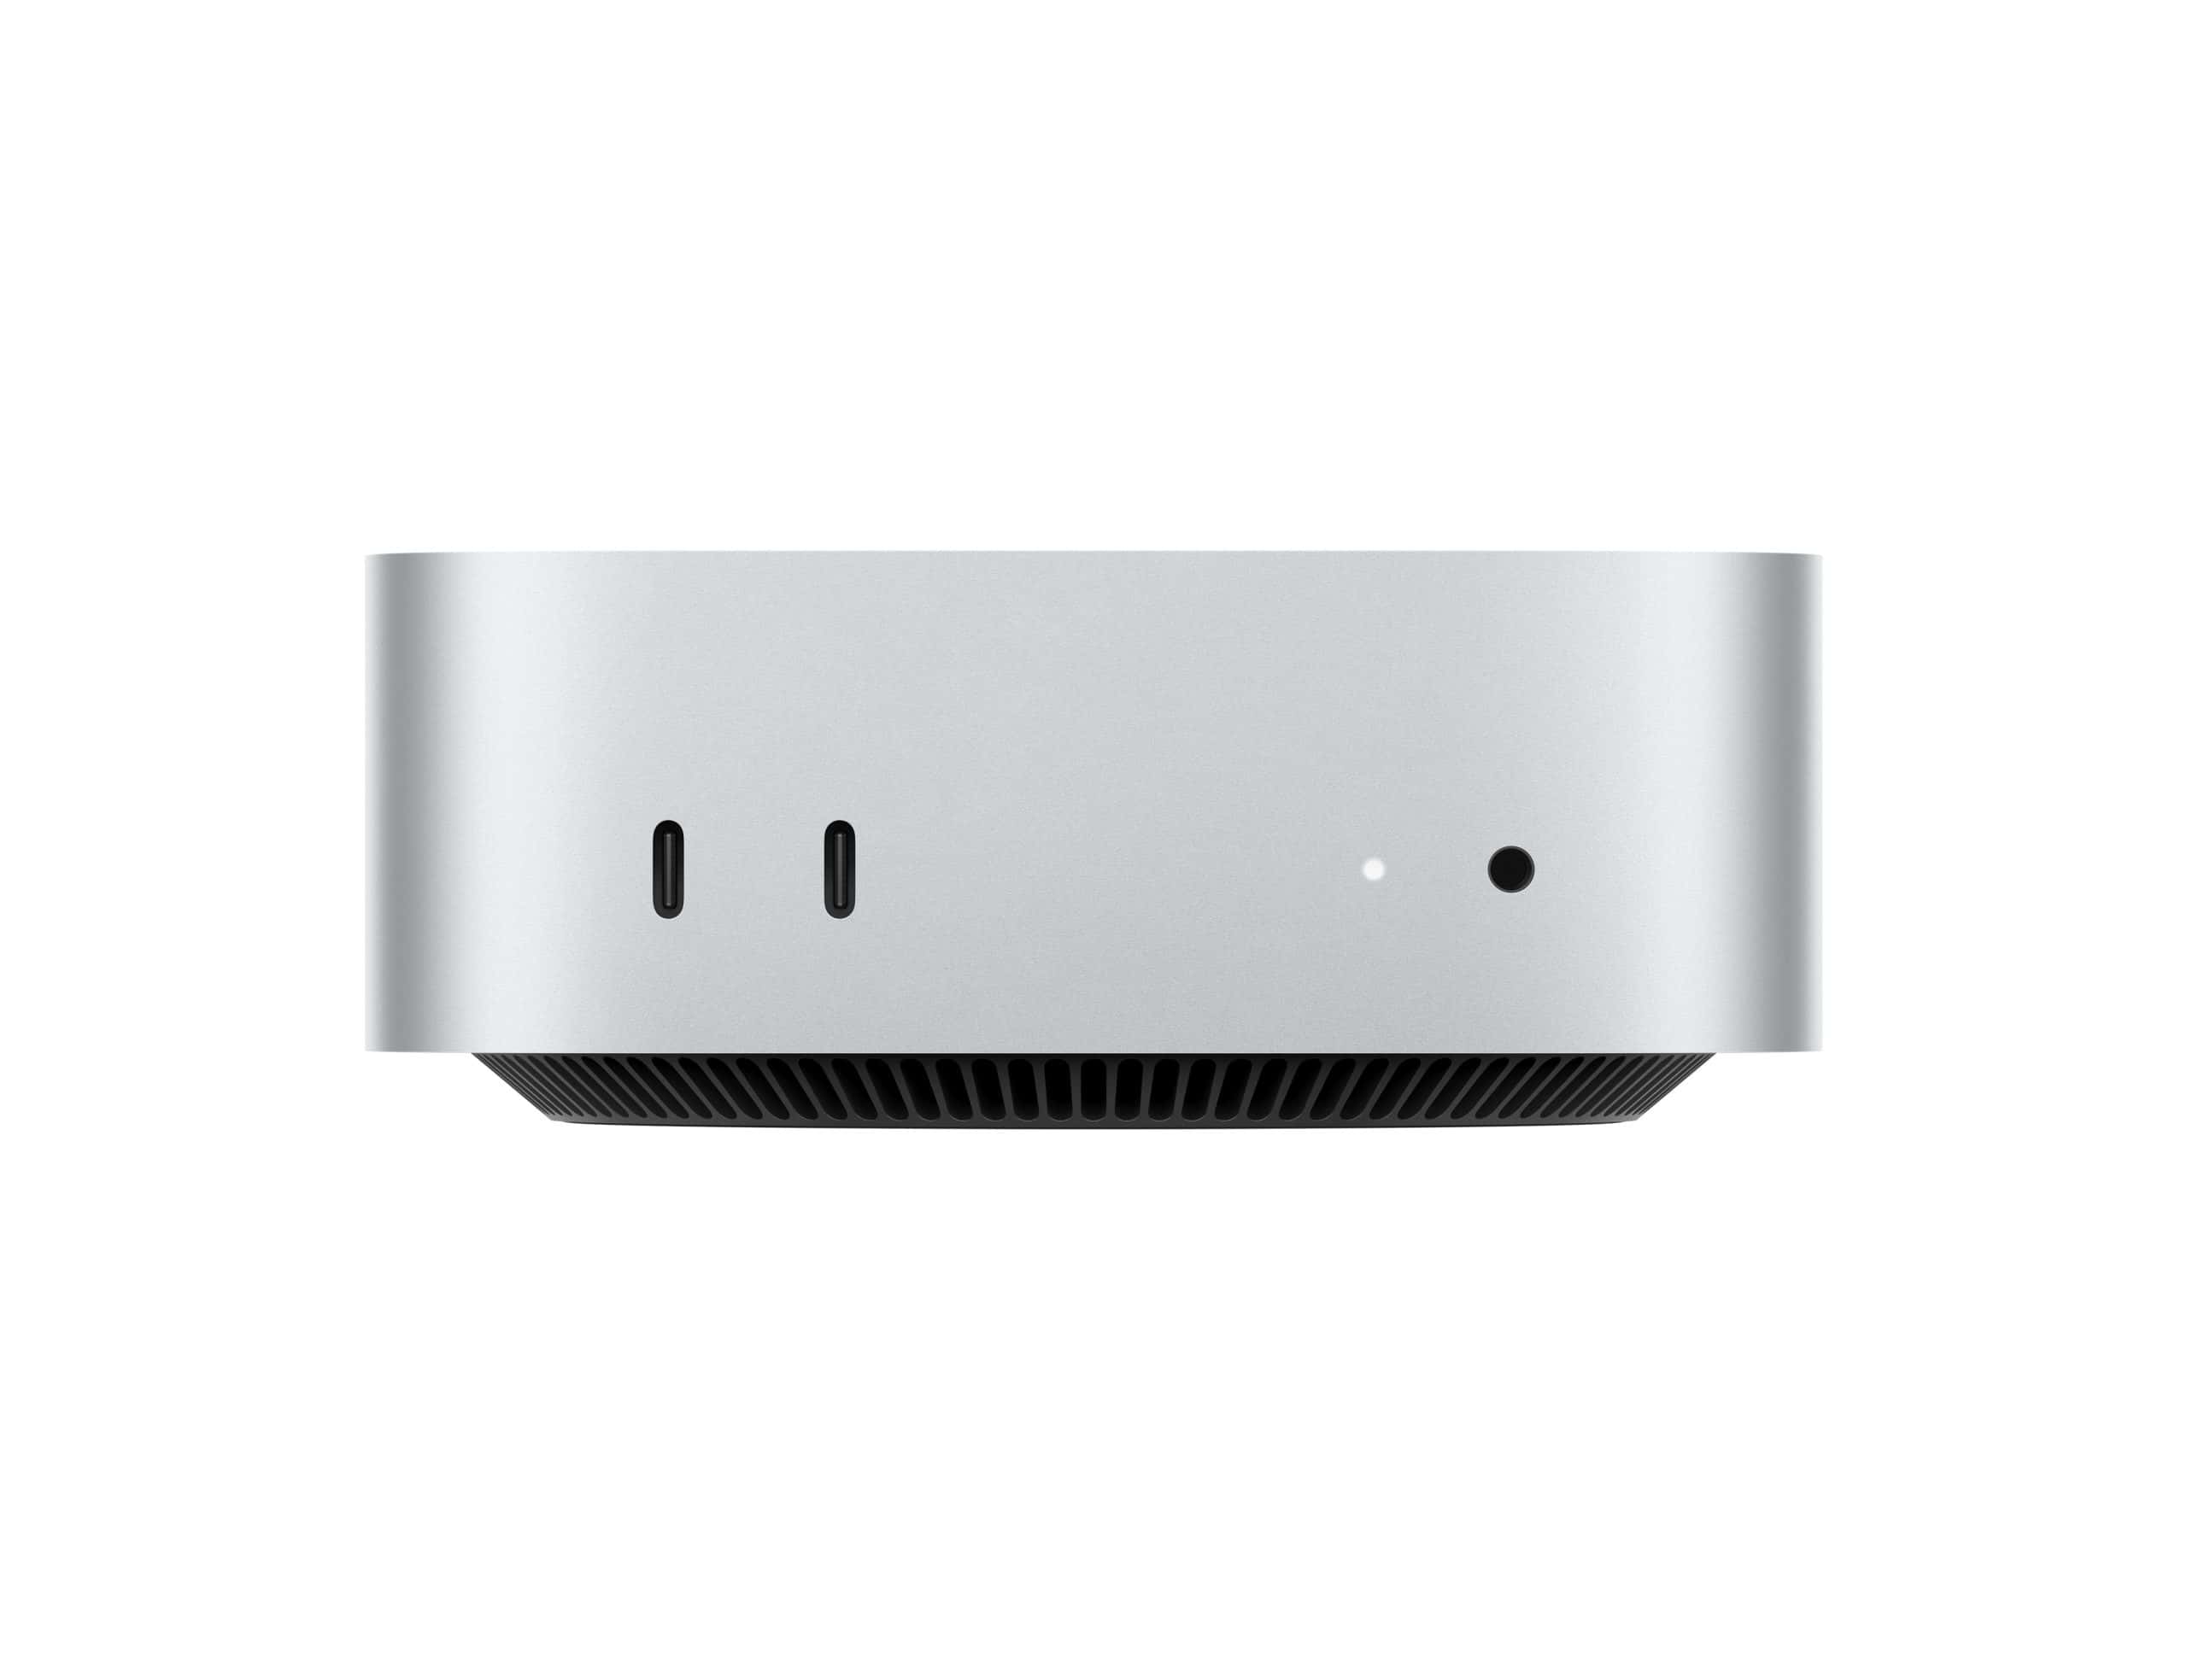
Computer: Mac Mini M4
Click here to order on Amazon
Specifications:
- Processor: Apple M4 chip with 10-core CPU
- Memory: 16GB unified memory (32GB+ is better)
- Storage: 512GB SSD (minimum)
- Graphics: 10-core GPU
Other Required Gear:
- Keyboard and mouse: If possible, purchase a wired keyboard and mouse, as wireless devices may occasionally disconnect. These devices will likely come with USB A connections, both of which are connected directly to the USB A ports on the Caldigit Element Hub (below).
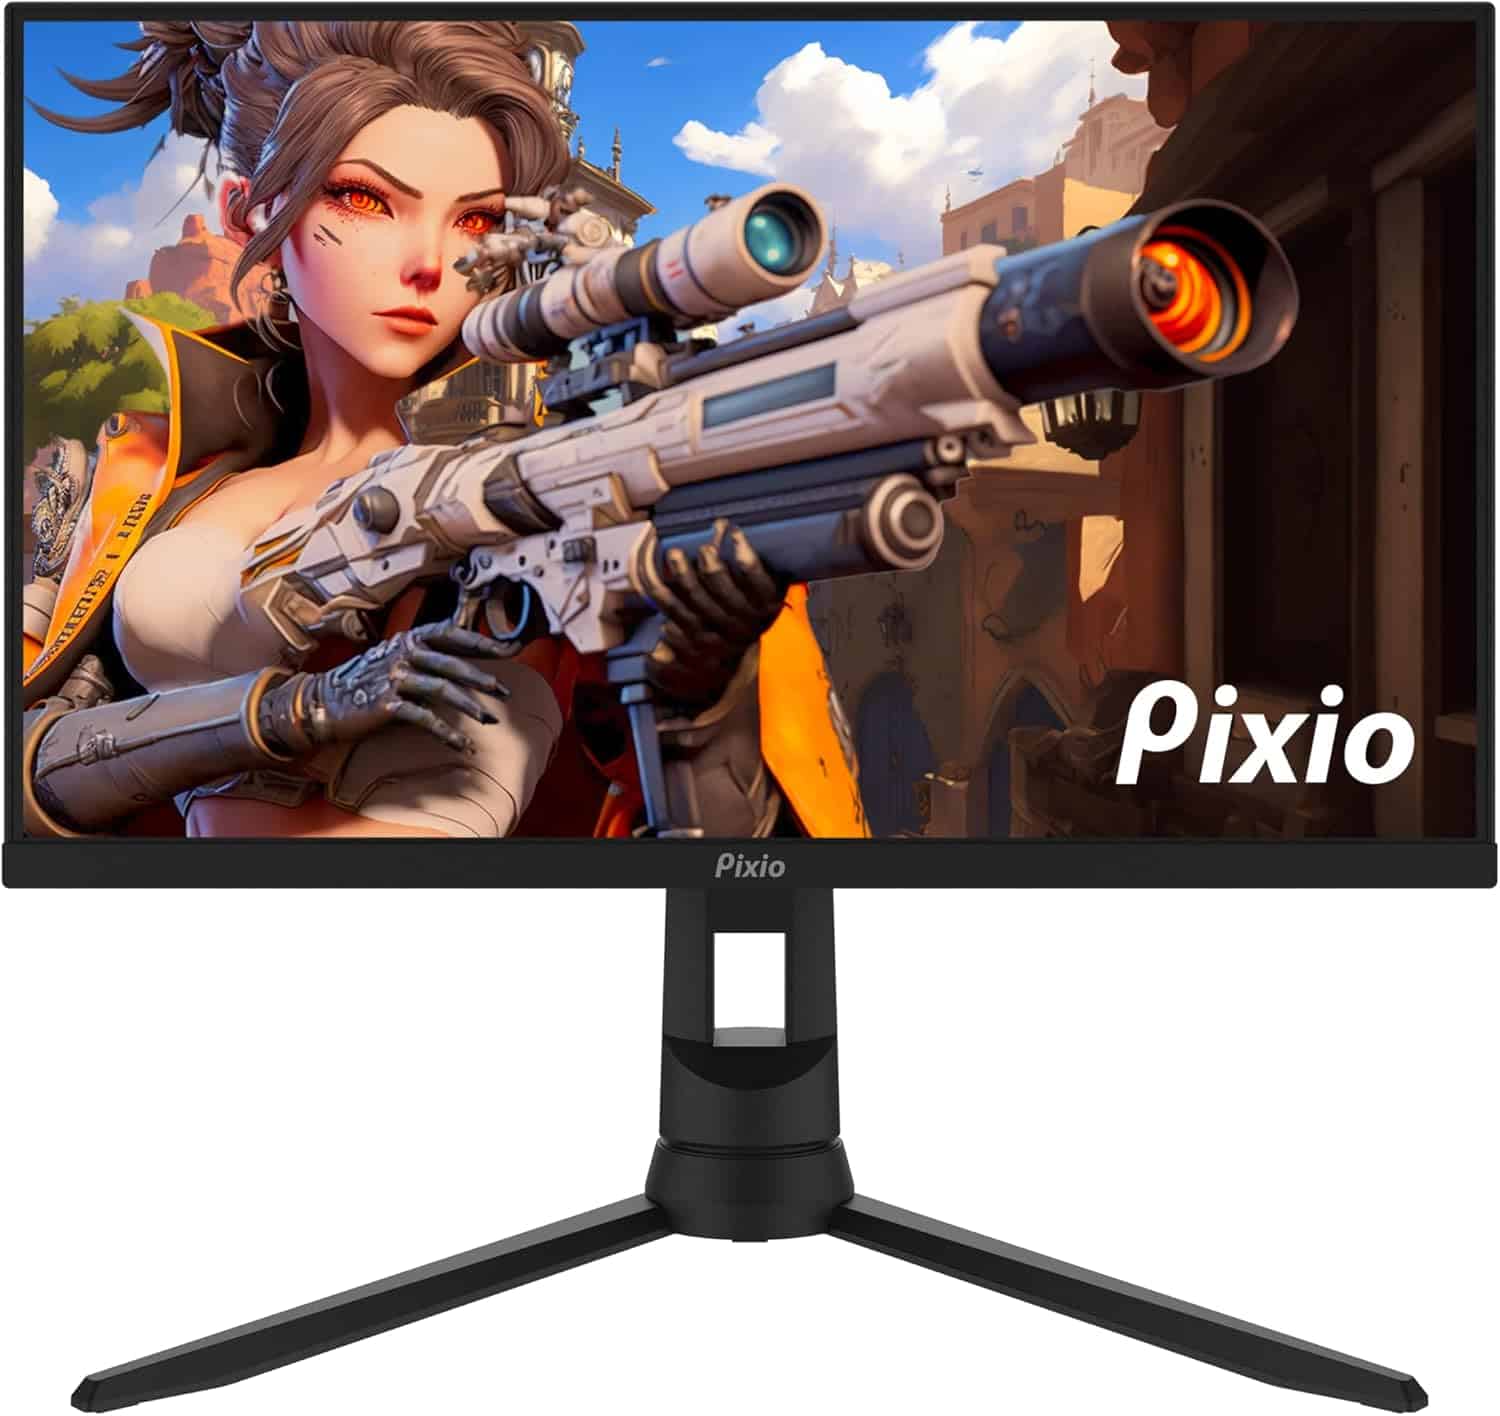
Displays: Pixio P248 Pro 24" 1080p Monitor (x2)
Click here to order on Amazon
Specifications:
- 1080p display resolution.
- 24″ display (diagonal).
- 165Hz refresh rate.
- 99% DCI-P3 color gamut (color accurate)
Installation:
- Connect the first display using the supplied cable to the HDMI port on the rear of the M4 Mac Mini.
- The second display will connect using this Thunderbolt to HDMI cable. The HDMI end goes into the display, the end that looks like USB C goes into the back of the M4 Mac Mini.
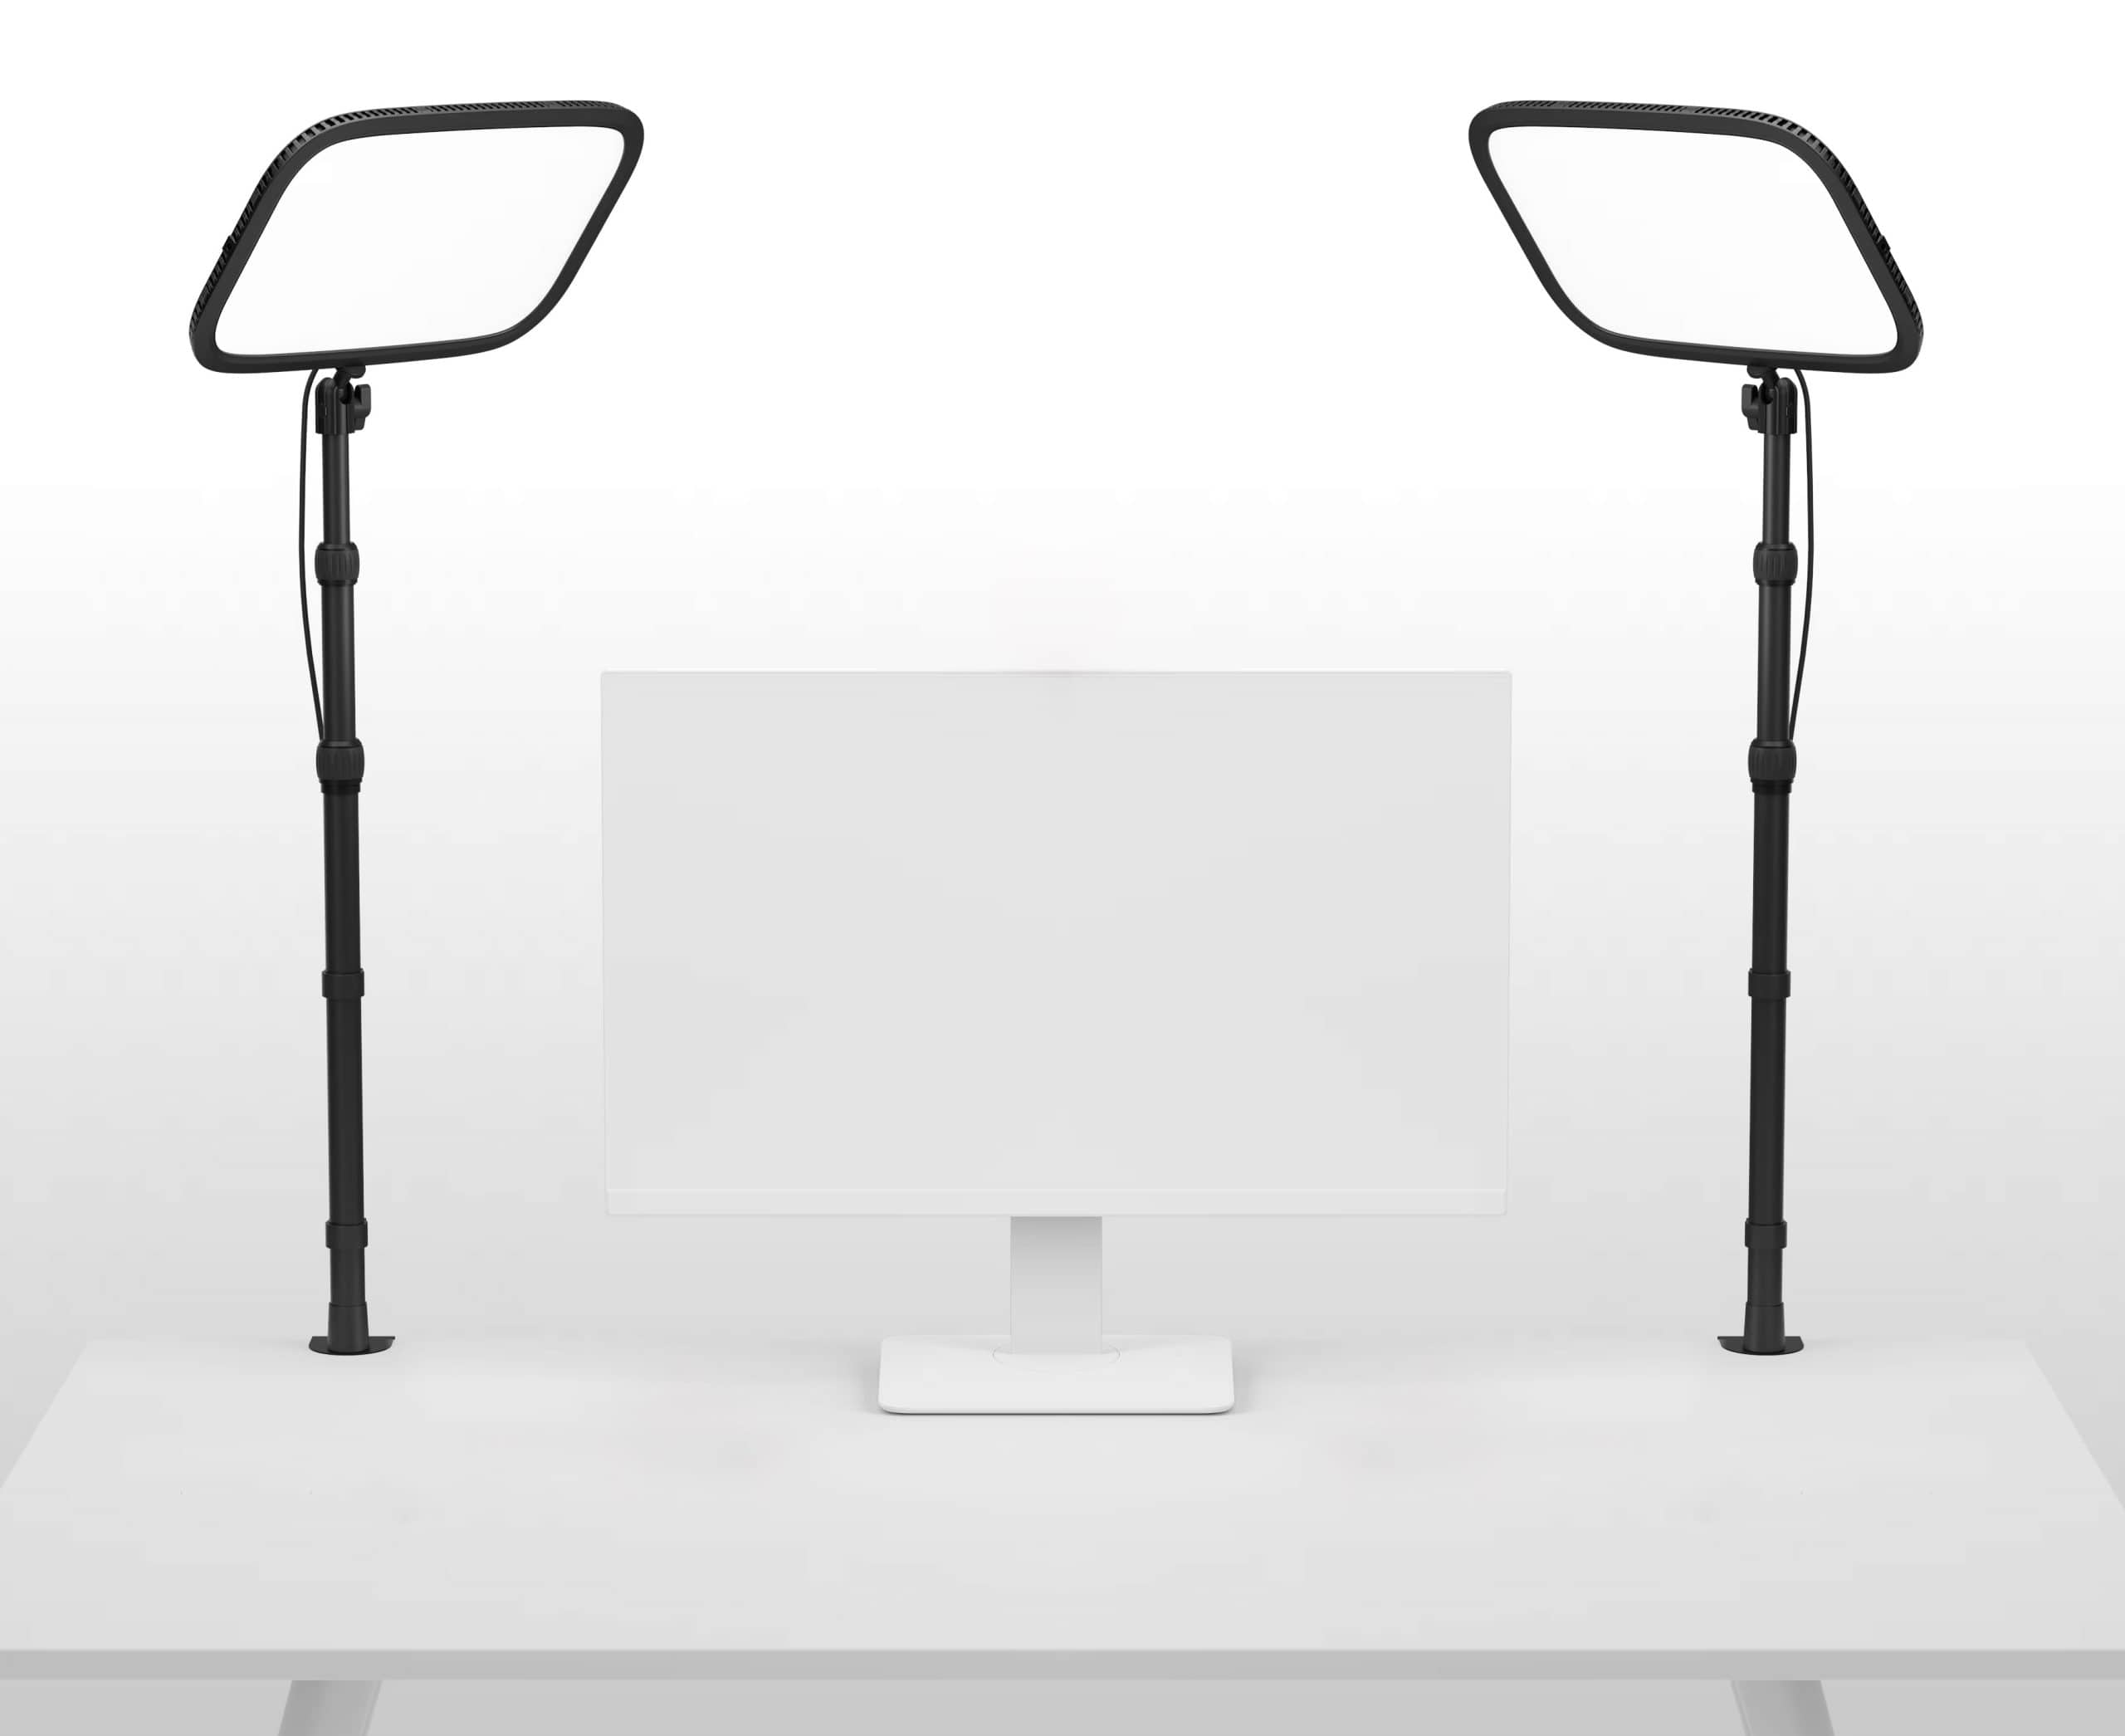
Lighting: Elgato Key Light (x2)
Click here to order on Amazon
Benefits:
- Simple installation and setup.
- Independent control of brightness and color temperature using the Elgato Control Center desktop or mobile app.
Installation:
- Mount each post at the back edge of your desktop 45 degrees to the right and left of you.
- Extend each post so each light is approximately 45 degrees above your head, with each light face pointing toward you.
- Manually adjust the color temperature and brightness – this will vary depending on your camera and camera settings.
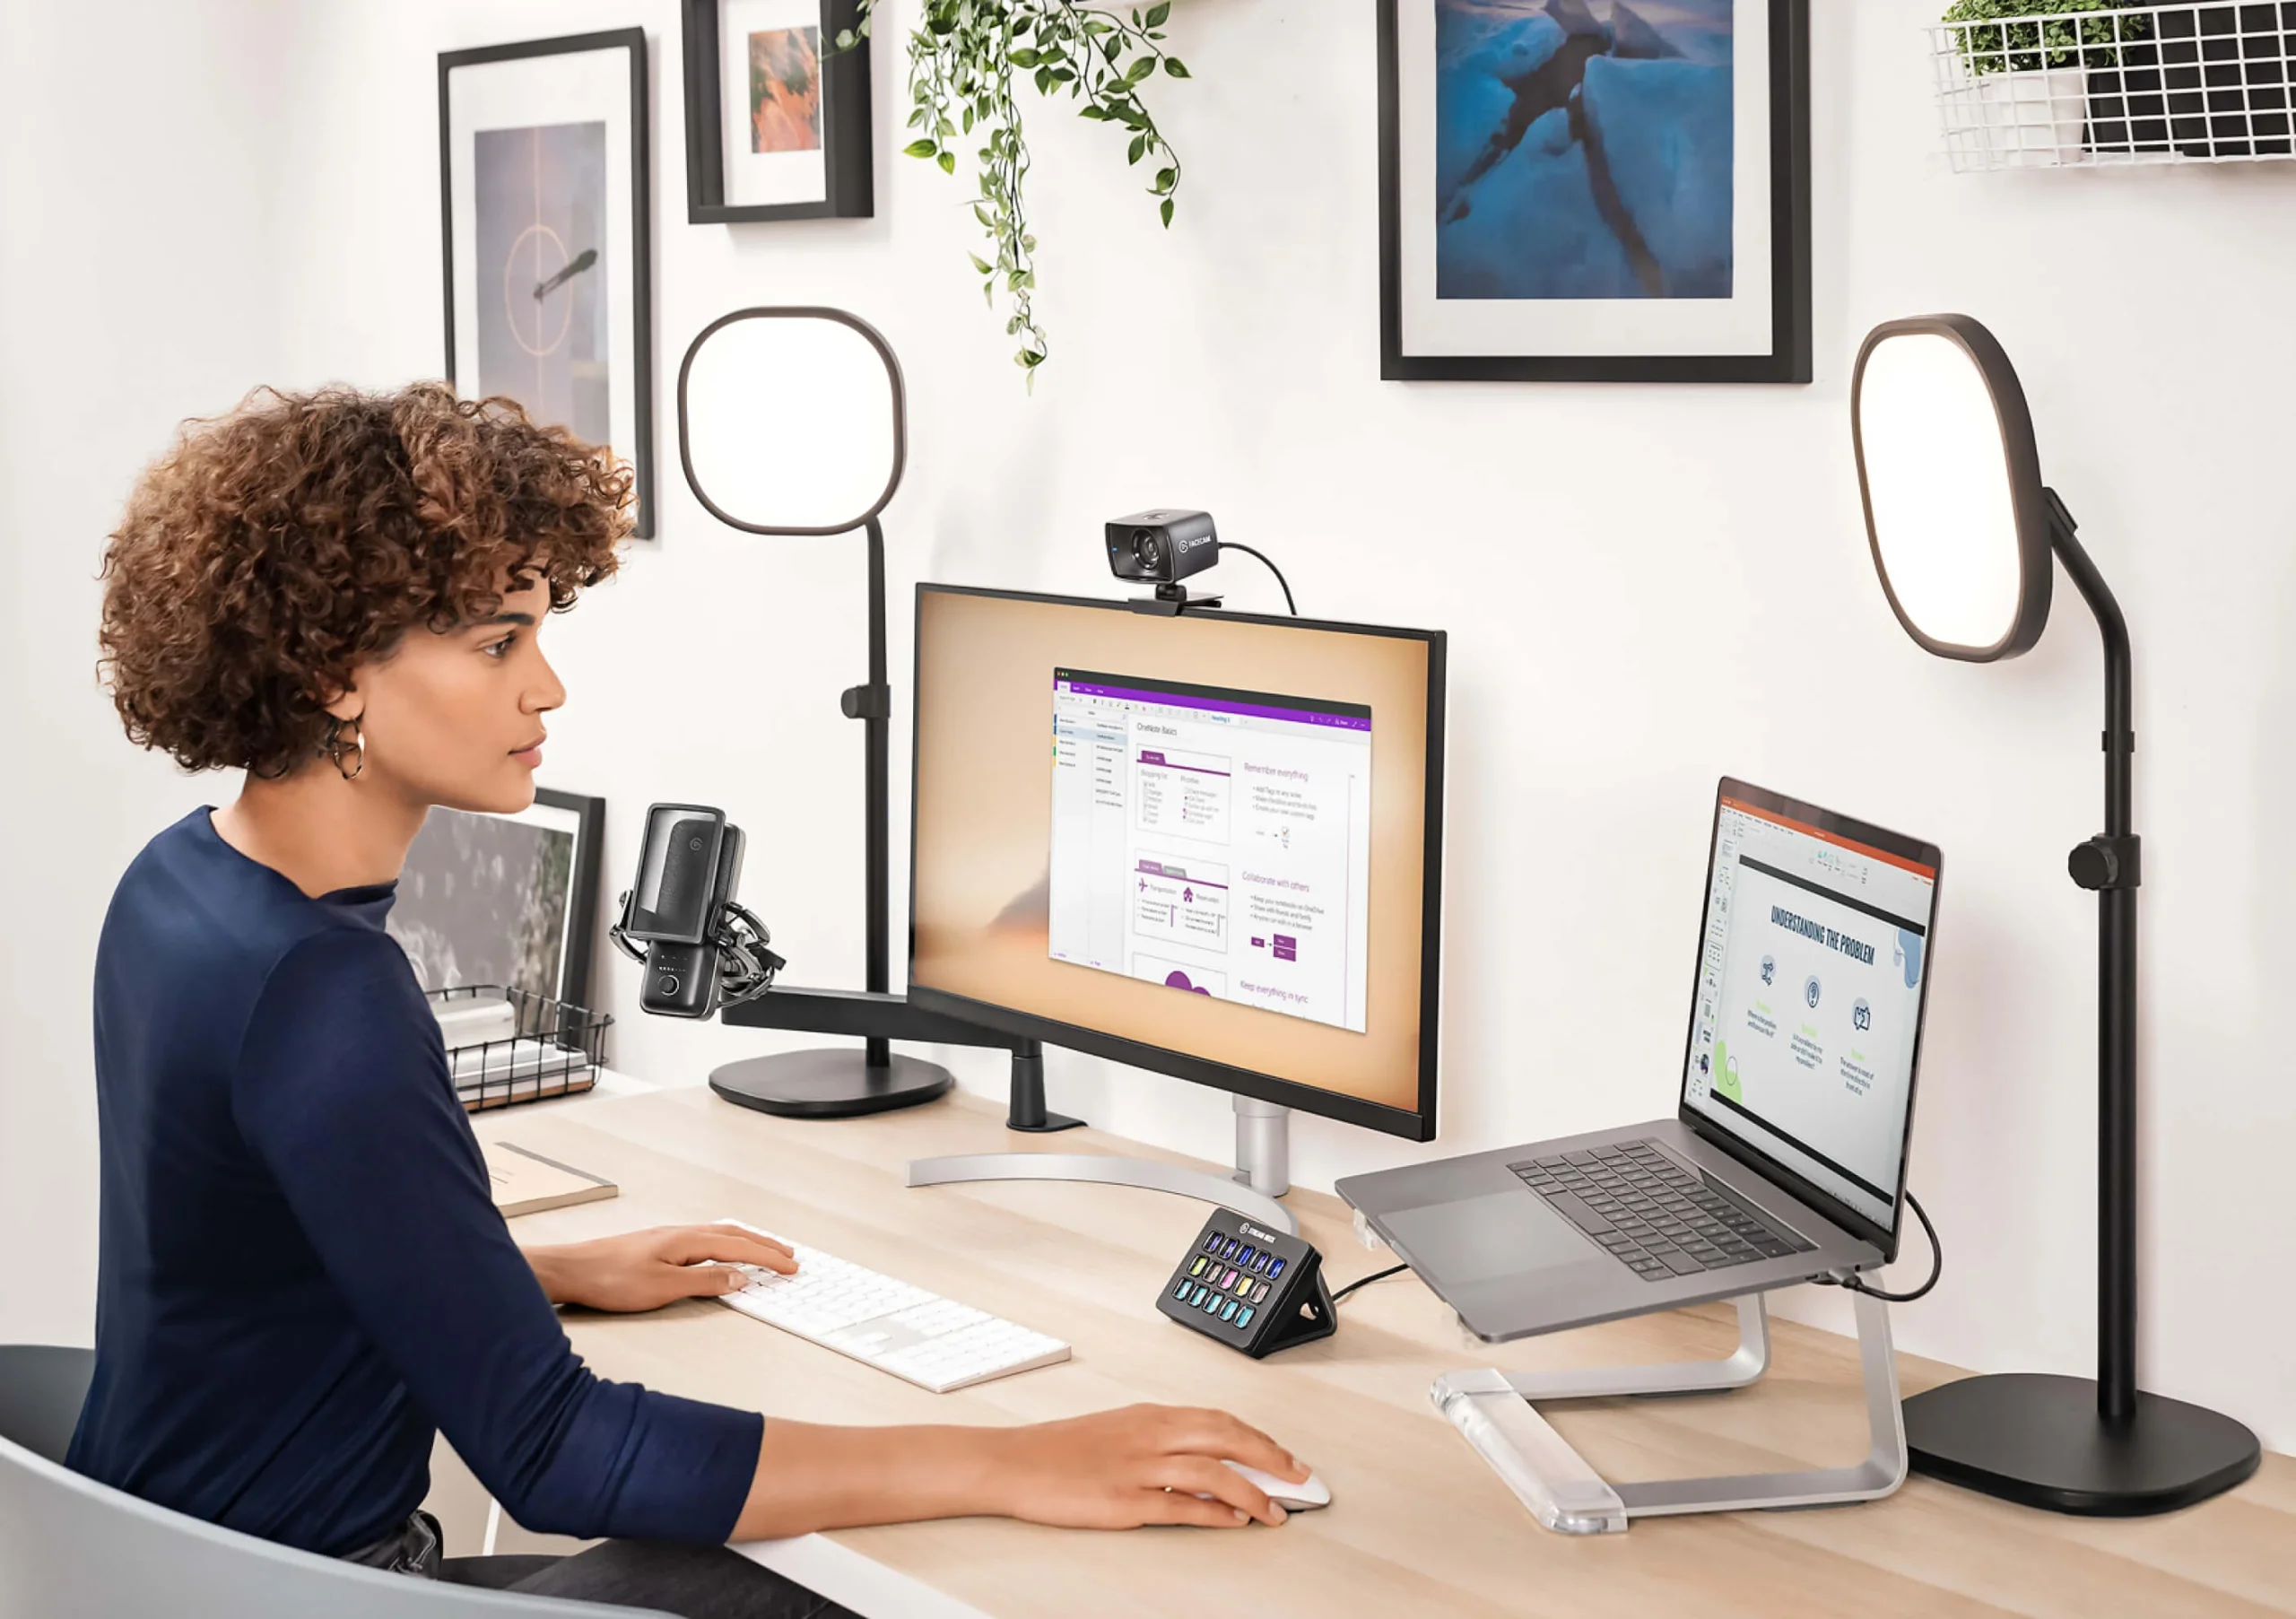
Lighting: Elgato Key Light Air (x2)
Click here to order on Amazon
Benefits:
- Simple installation and setup.
- Independent control of brightness and color temperature using the Elgato Control Center desktop or mobile app.
Installation:
- After assembling each light, set each light at the back corners of your desktop at least 45 degrees to the right and left of you.
- Extend each post so each light is higher than your head (45 degrees upward if possible), with each light face pointing toward you.
- Manually adjust the color temperature and brightness – this will vary depending on your camera and camera settings.
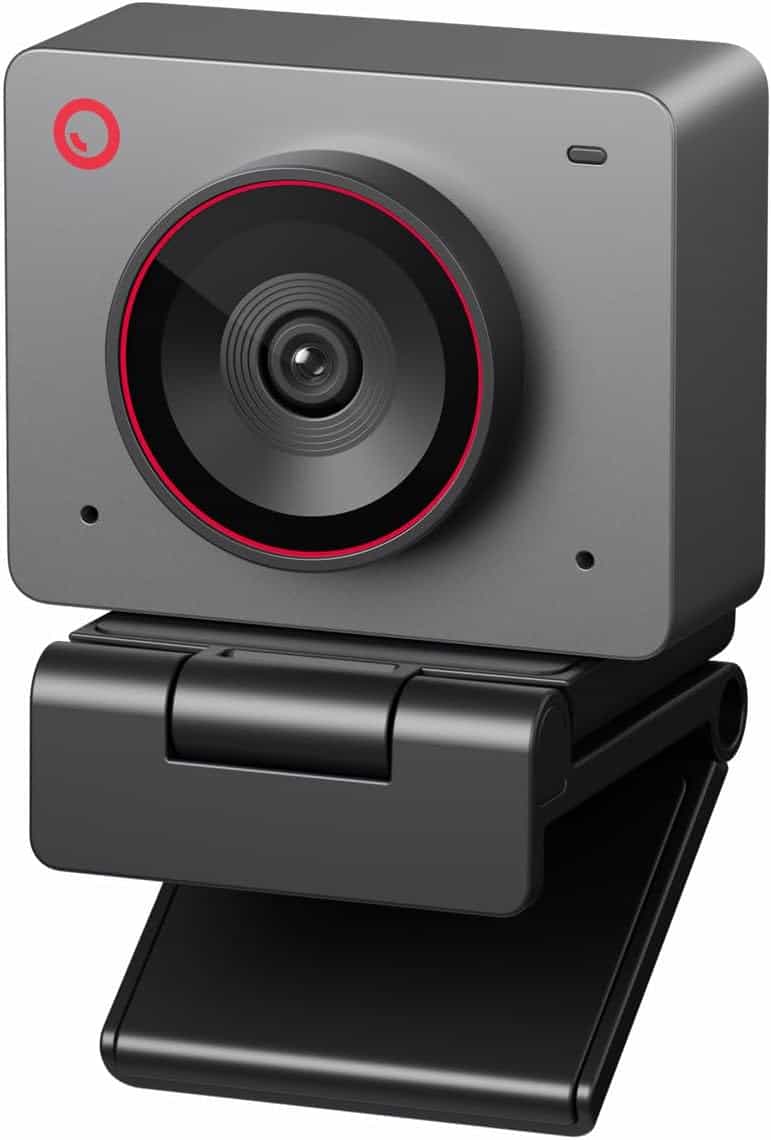
Webcam: Obsbot Meet 2 4k
Click here to order on Amazon
Benefits:
- Setup in seconds.
- Best value USB webcam – high quality webcam at an excellent price.
- Works great in almost any lighting condition, however, it shines when the lighting is done properly.
Installation:
- Attach the webcam body to the base (magnetic).
- Mount the base to the top edge of your display monitor.
- Plug the webcam directly into a USB C port on the back of your M4 Mac Mini using the supplied cable.
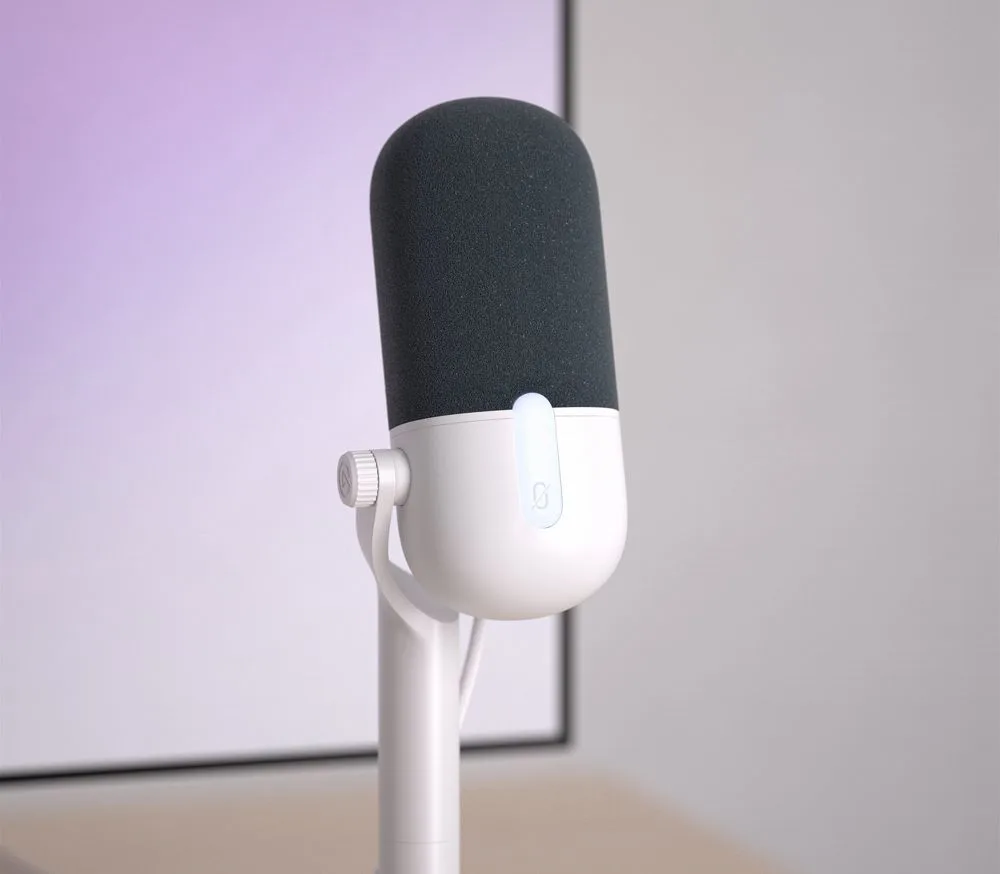
Microphone: Elgato Wave Neo
Click here to order on Amazon
Benefits:
- Setup in seconds.
- Professional features including Tap to Mute, built in pop filter, and headphone jack for zero-delay real-time headphone monitoring and listening.
Installation:
- Plug the microphone into the Mac using the supplied USB C cable.
- Install the Elgato Wave Link software.
- Choose the Wave Neo microphone in Ecamm Live.
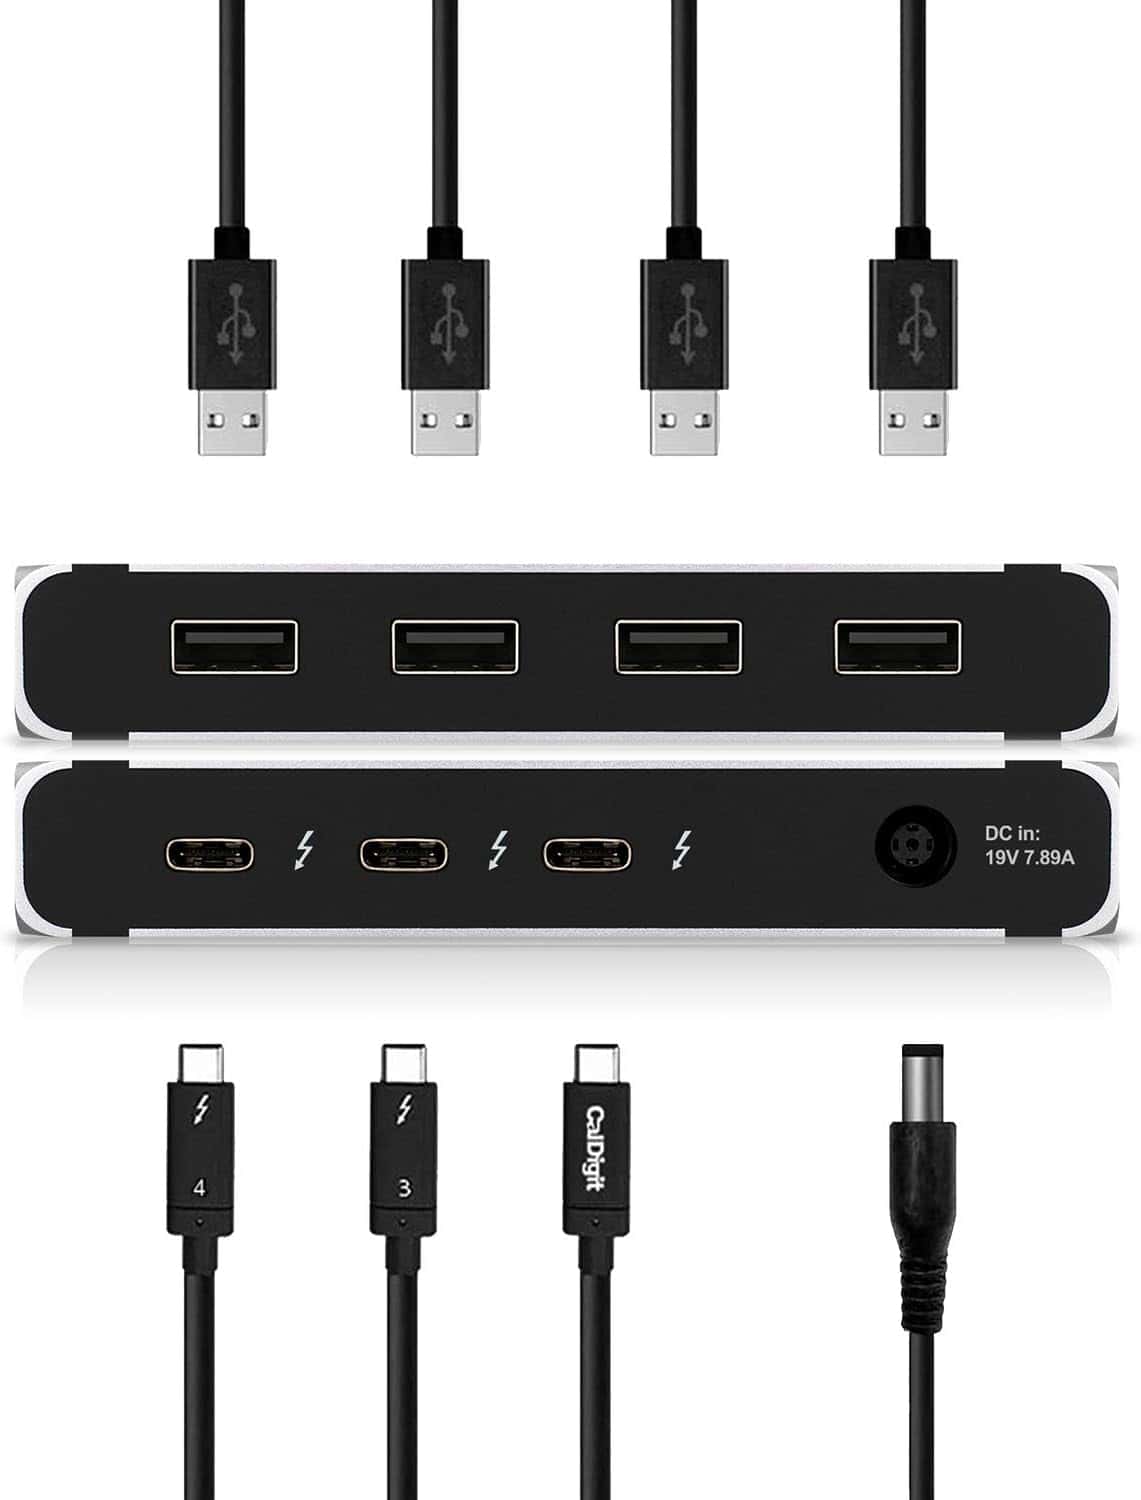
Accessory: Caldigit Element Thunderbolt 4 Hub
Click here to order on Amazon
Benefits:
- Connect additional peripherals to your Mac (up to four USB A and three USB C/Thunderbolt 4 devices).
Installation:
- Using the supplied Thunderbolt cable, connect the Element to one of the Thunderbolt ports on the rear of the M4 Mac Mini.
- Plug the power supply into the Element – plug the other end into a power outlet.
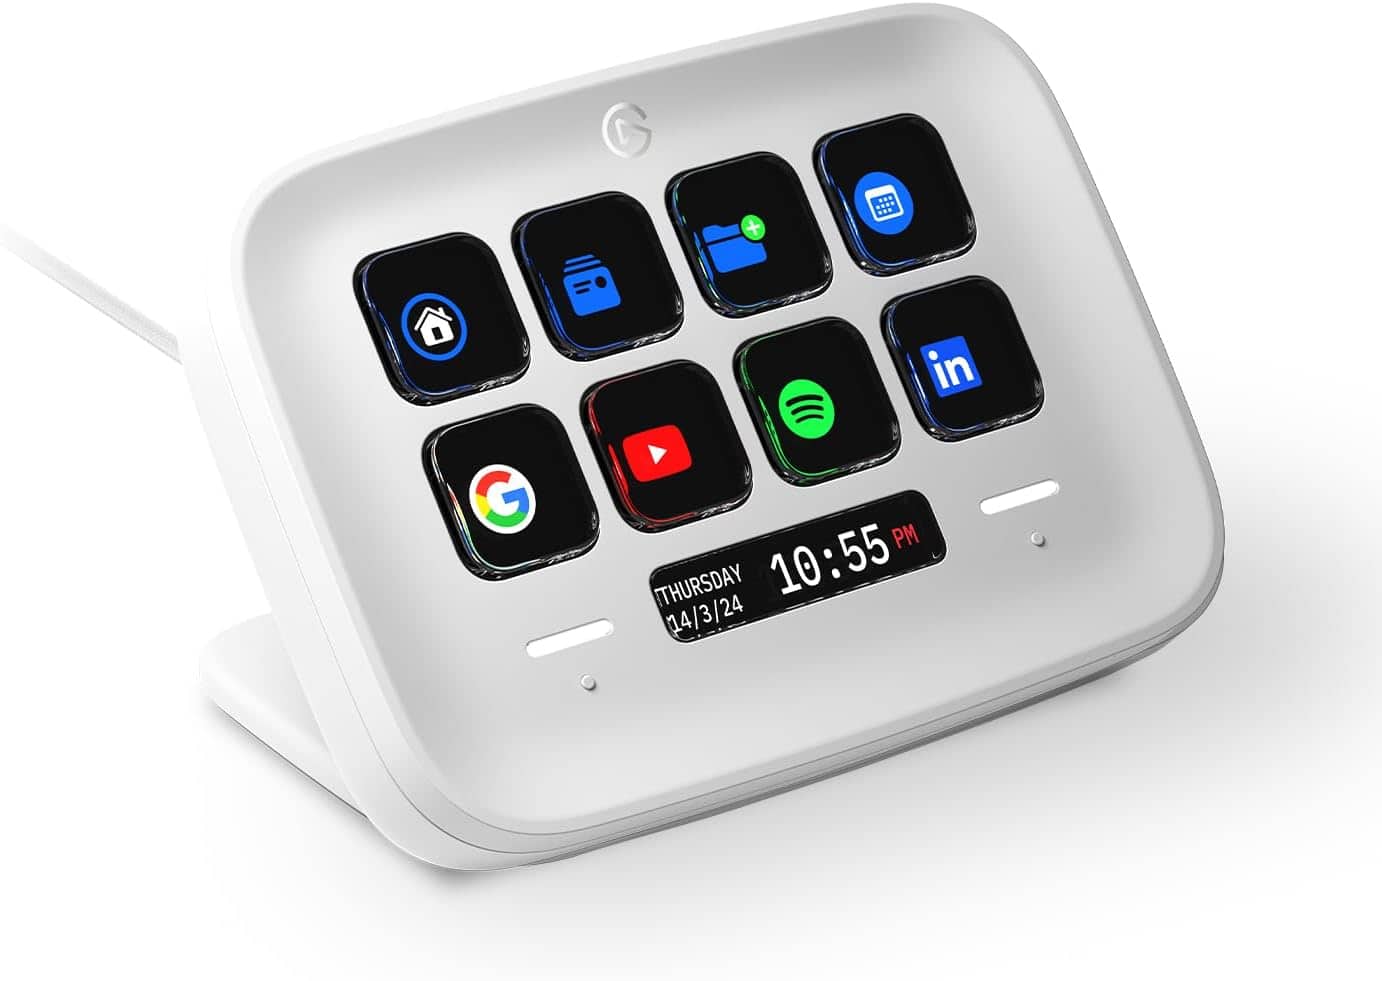
Accessory: Elgato Stream Deck Neo
Click here to order on Amazon
Benefits:
- Use the buttons to quickly change scenes or show/hide overlays in Ecamm Live.
- Control other applications like Zoom, Ecamm for Zoom, PowerPoint, Keynote, and more!
Installation:
- Using the supplied USB C cable, plug one end into the Stream Deck Neo and the other end into the Caldigit Element Hub.